
- Forums
- Product Forums
- General Purpose MicrocontrollersGeneral Purpose Microcontrollers
- i.MX Forumsi.MX Forums
- QorIQ Processing PlatformsQorIQ Processing Platforms
- Identification and SecurityIdentification and Security
- Power ManagementPower Management
- Wireless ConnectivityWireless Connectivity
- RFID / NFCRFID / NFC
- Advanced AnalogAdvanced Analog
- Neural Processing UnitsNeural Processing Units
- MCX Microcontrollers
- S32G
- S32K
- S32V
- MPC5xxx
- Other NXP Products
- S12 / MagniV Microcontrollers
- Powertrain and Electrification Analog Drivers
- Sensors
- Vybrid Processors
- Digital Signal Controllers
- 8-bit Microcontrollers
- ColdFire/68K Microcontrollers and Processors
- PowerQUICC Processors
- OSBDM and TBDML
- S32M
- S32Z/E
-
- Solution Forums
- Software Forums
- MCUXpresso Software and ToolsMCUXpresso Software and Tools
- CodeWarriorCodeWarrior
- MQX Software SolutionsMQX Software Solutions
- Model-Based Design Toolbox (MBDT)Model-Based Design Toolbox (MBDT)
- FreeMASTER
- eIQ Machine Learning Software
- Embedded Software and Tools Clinic
- S32 SDK
- S32 Design Studio
- GUI Guider
- Zephyr Project
- Voice Technology
- Application Software Packs
- Secure Provisioning SDK (SPSDK)
- Processor Expert Software
- Generative AI & LLMs
-
- Topics
- Mobile Robotics - Drones and RoversMobile Robotics - Drones and Rovers
- NXP Training ContentNXP Training Content
- University ProgramsUniversity Programs
- Rapid IoT
- NXP Designs
- SafeAssure-Community
- OSS Security & Maintenance
- Using Our Community
-
- Cloud Lab Forums
-
- Knowledge Bases
- ARM Microcontrollers
- i.MX Processors
- Identification and Security
- Model-Based Design Toolbox (MBDT)
- QorIQ Processing Platforms
- S32 Automotive Processing Platform
- Wireless Connectivity
- CodeWarrior
- MCUXpresso Suite of Software and Tools
- MQX Software Solutions
- RFID / NFC
- Advanced Analog
- Neural Processing Units
-
- NXP Tech Blogs
- Home
- :
- CodeWarrior
- :
- CodeWarrior開発ツール
- :
- Re: Debug configuration starts with an error
Debug configuration starts with an error
- RSS フィードを購読する
- トピックを新着としてマーク
- トピックを既読としてマーク
- このトピックを現在のユーザーにフロートします
- ブックマーク
- 購読
- ミュート
- 印刷用ページ
- 新着としてマーク
- ブックマーク
- 購読
- ミュート
- RSS フィードを購読する
- ハイライト
- 印刷
- 不適切なコンテンツを報告
Hello!
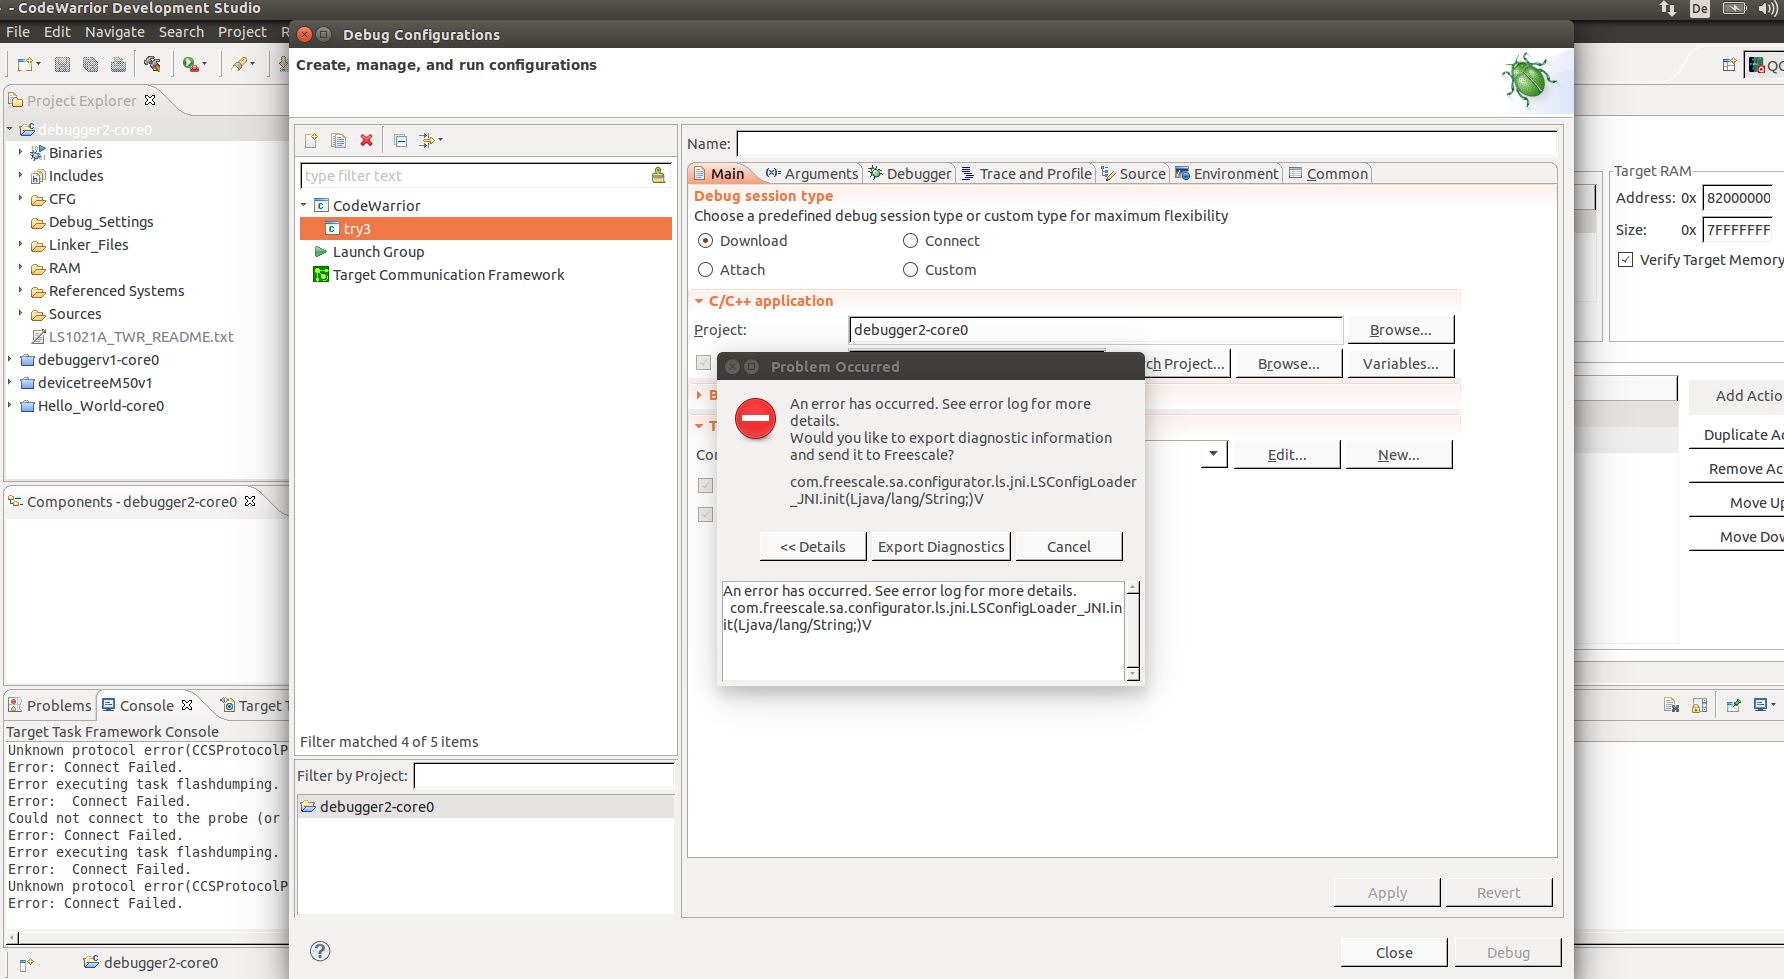
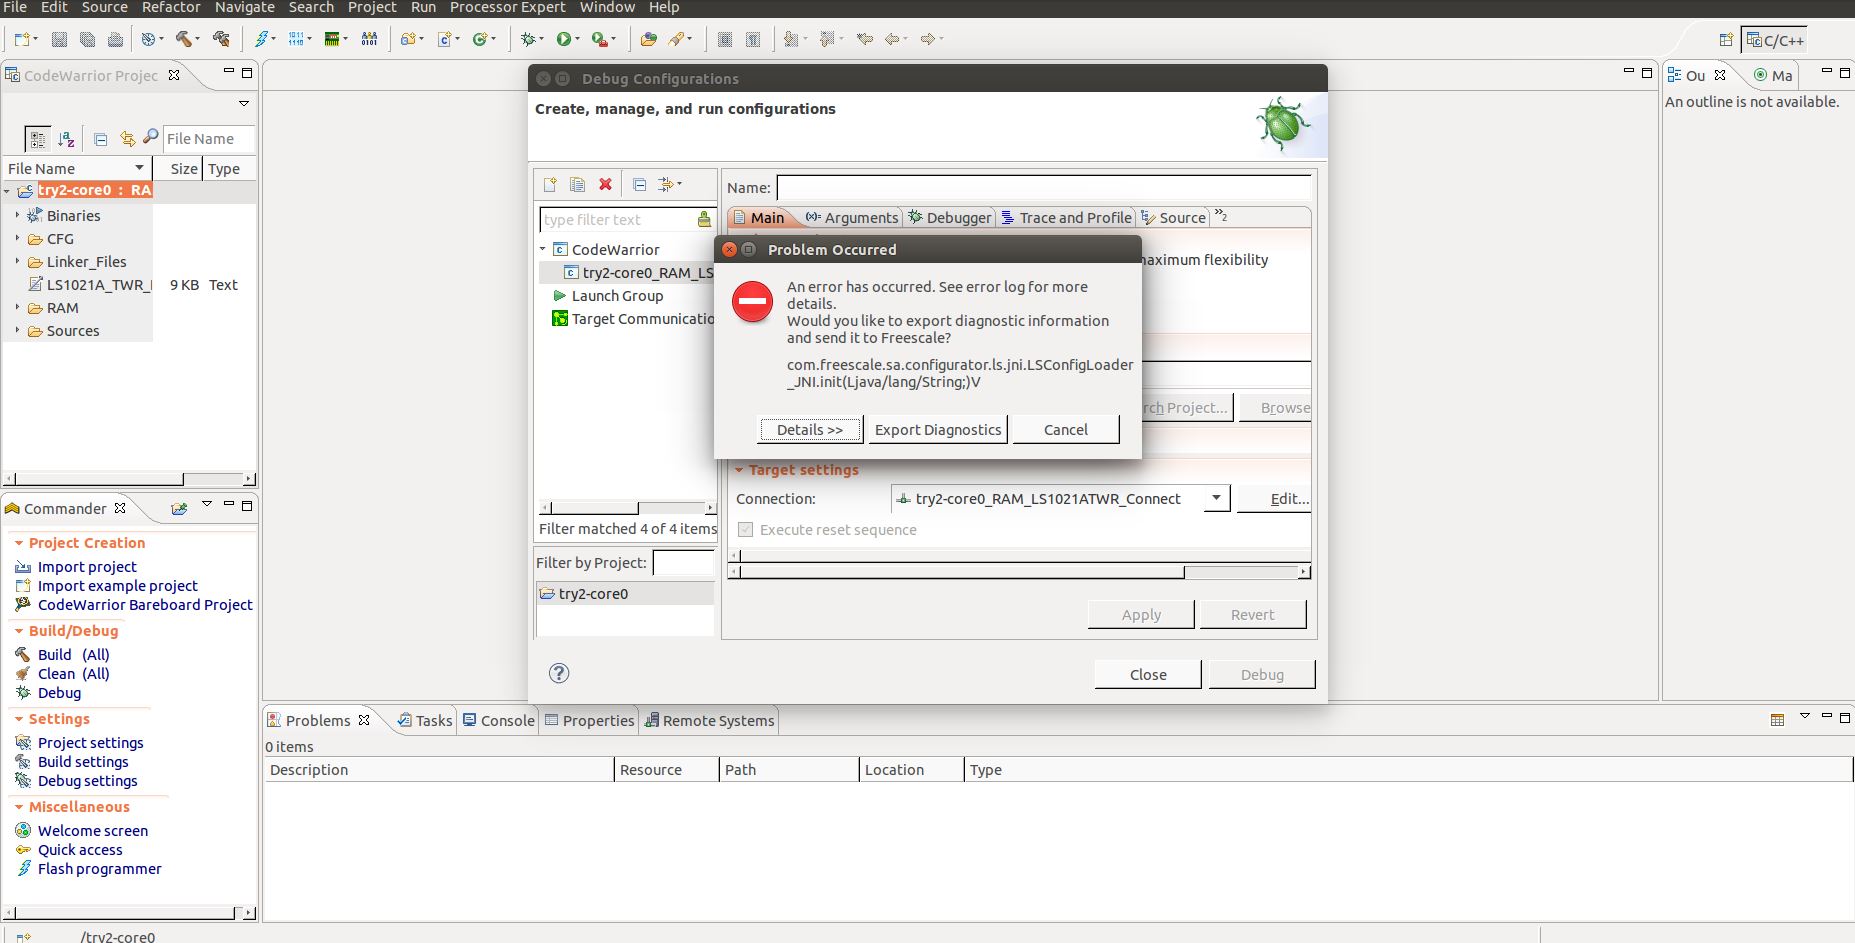
I've got a problem with CodeWarrior Development Studio for QorIQ LS series (10.0.8) and my LS1021atwr. I want to use the CodeWarrior TAP for debugging. I'm not able to open debug configuration without the following Problem: (a jpeg is added to this post, too) "An error has occurred. See error log for more details. com.freescale.sa.configurator.ls.jni.LSConfigLoader_JNI.init(Ljava/lang/String;)V"
I don't know how to fix this...
Had has anyone this error already?
kind regards,
Jan
解決済! 解決策の投稿を見る。
- 新着としてマーク
- ブックマーク
- 購読
- ミュート
- RSS フィードを購読する
- ハイライト
- 印刷
- 不適切なコンテンツを報告
Go to CW_ARMv7/ARMv7/sa_ls/bin and run createlinks_xpcom.sh. Restart CW and try again. This should solved the problem.
Adrian
- 新着としてマーク
- ブックマーク
- 購読
- ミュート
- RSS フィードを購読する
- ハイライト
- 印刷
- 不適切なコンテンツを報告
Hi Jan,
Which OS are you using?
Adrian
- 新着としてマーク
- ブックマーク
- 購読
- ミュート
- RSS フィードを購読する
- ハイライト
- 印刷
- 不適切なコンテンツを報告
Hi,
actually I'm trying with Ubuntu 14.04 LTS...
Jan
- 新着としてマーク
- ブックマーク
- 購読
- ミュート
- RSS フィードを購読する
- ハイライト
- 印刷
- 不適切なコンテンツを報告
Did you run setuplinux.sh script and the commands form Dependency installation, in README? This errors is generated by missing of libexpat.
Adrian
- 新着としてマーク
- ブックマーク
- 購読
- ミュート
- RSS フィードを購読する
- ハイライト
- 印刷
- 不適切なコンテンツを報告
Yes. First I ran ./setuplinux.sh from the tarball. Then I executed install_deps.sh with root: "~/Freescale/CW4NET_v2016.01$ sudo ./install_deps.sh" and the message: "dependency installed successfully" appears....
Jan
- 新着としてマーク
- ブックマーク
- 購読
- ミュート
- RSS フィードを購読する
- ハイライト
- 印刷
- 不適切なコンテンツを報告
Please rerun:
1. Ubuntu 12.04/14.04/15.04 or newer
* Elevate to root using su
* In the terminal run the following command:
# sudo apt-get install libc6:i386 libgcc1:i386 gcc-4.6-base:i386 libstdc++5:i386 libstdc++6:i386 libgtk2.0-0:i386 libxpm4:i386 libusb-0.1-4:i386 libusb-1.0-0:i386 libuuid1:i386 libxcb1:i386 libnspr4:i386 libglib2.0-0:i386 libxdamage1:i386 libxtst6:i386 libssl0.9.8:i386
Adrian
- 新着としてマーク
- ブックマーク
- 購読
- ミュート
- RSS フィードを購読する
- ハイライト
- 印刷
- 不適切なコンテンツを報告
Hi,
it seems to be all is up to date:
"# sudo apt-get install libc6:i386 libgcc1:i386 gcc-4.6-base:i386 libstdc++5:i386 libstdc++6:i386 libgtk2.0-0:i386 libxpm4:i386 libusb-0.1-4:i386 libusb-1.0-0:i386 libuuid1:i386 libxcb1:i386 libnspr4:i386 libglib2.0-0:i386 libxdamage1:i386 libxtst6:i386 libssl0.9.8:i386Paketlisten werden gelesen... Fertig
Abhängigkeitsbaum wird aufgebaut.
Statusinformationen werden eingelesen.... Fertig
libusb-0.1-4:i386 ist schon die neueste Version.
libusb-1.0-0:i386 ist schon die neueste Version.
libxcb1:i386 ist schon die neueste Version.
libxdamage1:i386 ist schon die neueste Version.
libxpm4:i386 ist schon die neueste Version.
libxtst6:i386 ist schon die neueste Version.
gcc-4.6-base:i386 ist schon die neueste Version.
libstdc++5:i386 ist schon die neueste Version.
libc6:i386 ist schon die neueste Version.
libgcc1:i386 ist schon die neueste Version.
libglib2.0-0:i386 ist schon die neueste Version.
libgtk2.0-0:i386 ist schon die neueste Version.
libnspr4:i386 ist schon die neueste Version.
libstdc++6:i386 ist schon die neueste Version.
libuuid1:i386 ist schon die neueste Version.
libssl0.9.8:i386 ist schon die neueste Version.
0 aktualisiert, 0 neu installiert, 0 zu entfernen und 44 nicht aktualisiert."
Jan
- 新着としてマーク
- ブックマーク
- 購読
- ミュート
- RSS フィードを購読する
- ハイライト
- 印刷
- 不適切なコンテンツを報告
Could you please issue next command in your ubuntu terminal "/sbin/ldconfig -vp | grep libexpat" and share the output? Also, could you provide .metadata folder from your workspace?
Adrian
- 新着としてマーク
- ブックマーク
- 購読
- ミュート
- RSS フィードを購読する
- ハイライト
- 印刷
- 不適切なコンテンツを報告
Here is the output from /sbin/ldconfig -vp | grep libexpat:
~$ /sbin/ldconfig -vp | grep libexpat
libexpatw.so.1 (libc6,x86-64) => /usr/lib/x86_64-linux-gnu/libexpatw.so.1
libexpatw.so.1 (libc6) => /usr/lib/i386-linux-gnu/libexpatw.so.1
libexpat.so.1 (libc6,x86-64) => /lib/x86_64-linux-gnu/libexpat.so.1
libexpat.so.1 (libc6) => /lib/i386-linux-gnu/libexpat.so.1
metdata.tar is added to this post...
kind regards
Jan
- 新着としてマーク
- ブックマーク
- 購読
- ミュート
- RSS フィードを購読する
- ハイライト
- 印刷
- 不適切なコンテンツを報告
The library looks fine. Also, in log I don't see an error related to your first error. Did you still have that error? Did you tried to change the workspace?
Adrian
- 新着としてマーク
- ブックマーク
- 購読
- ミュート
- RSS フィードを購読する
- ハイライト
- 印刷
- 不適切なコンテンツを報告
- 新着としてマーク
- ブックマーク
- 購読
- ミュート
- RSS フィードを購読する
- ハイライト
- 印刷
- 不適切なコンテンツを報告
Go to CW_ARMv7/ARMv7/sa_ls/bin and run createlinks_xpcom.sh. Restart CW and try again. This should solved the problem.
Adrian
- 新着としてマーク
- ブックマーク
- 購読
- ミュート
- RSS フィードを購読する
- ハイライト
- 印刷
- 不適切なコンテンツを報告
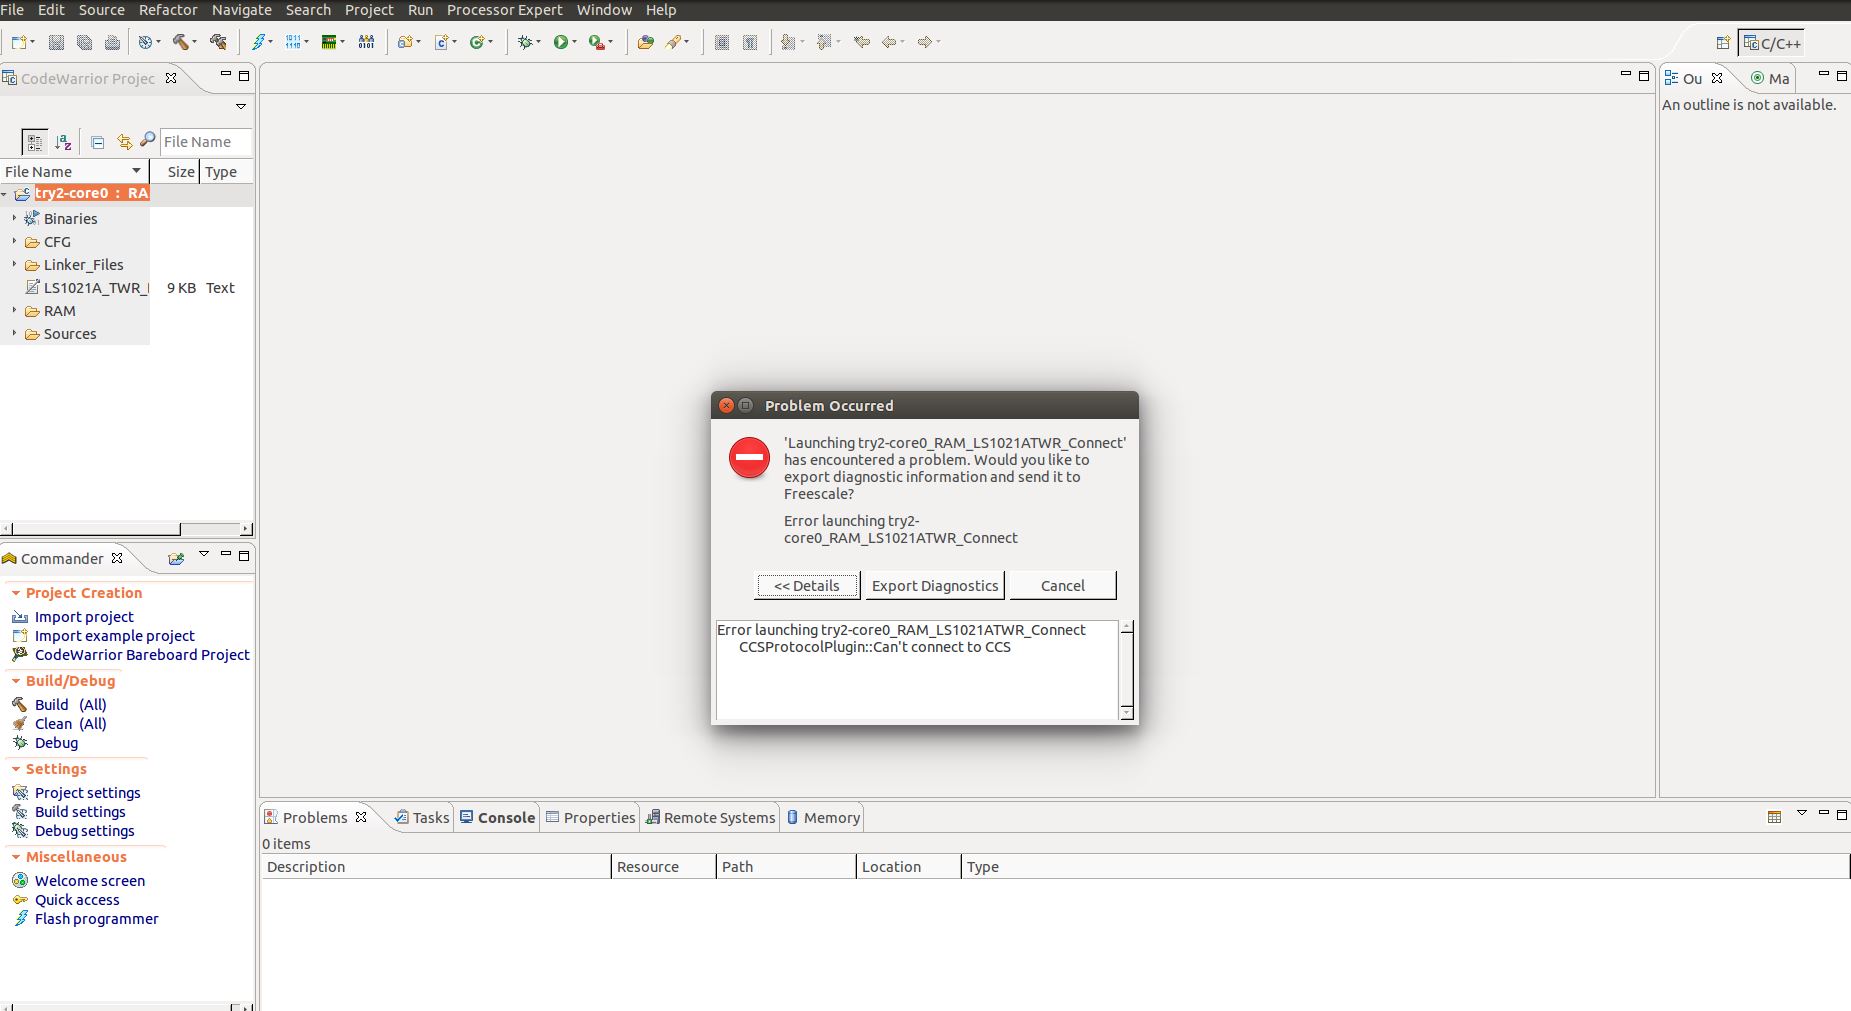
Thank you, that fixed the problem! I can open debug configuration without getting an error.
Now another error comes up (Added a .jpeg to this post). A terminal with ccs starts, but just put something out and closes. I can not get the Output - it's closing too fast... The CodeWarrior TAP is blinkin green on TX/RX (like standard) and for four very short times a red LED is shown. Then CodeWarrior ends with the Error....
Is there a relation between the erros?
kind regards,
Jan
- 新着としてマーク
- ブックマーク
- 購読
- ミュート
- RSS フィードを購読する
- ハイライト
- 印刷
- 不適切なコンテンツを報告
What is the CPU rev on your board?
Adrian
- 新着としてマーク
- ブックマーク
- 購読
- ミュート
- RSS フィードを購読する
- ハイライト
- 印刷
- 不適切なコンテンツを報告
This is what U-Boot is saying:
U-Boot 2014.07+ls1+g6747328 (Dec 07 2014 - 16:03:02)
CPU: Freescale LayerScape LS1021E, Version: 1.0, (0x87081110)
Clock Configuration:
CPU0(ARMV7):1000 MHz,
Bus:300 MHz, DDR:800 MHz (1600 MT/s data rate),
Reset Configuration Word (RCW):
00000000: 0608000a 00000000 00000000 00000000
00000010: 70000000 00407900 e0025a00 21046000
00000020: 00000000 00000000 00000000 00038000
00000030: 00080000 48007340 00000000 00000000
Board: LS1021ATWR
CPLD: V2.3
PCBA: V4.0
VBank: 0
Jan
- 新着としてマーク
- ブックマーク
- 購読
- ミュート
- RSS フィードを購読する
- ハイライト
- 印刷
- 不適切なコンテンツを報告
Please take a look to LS1021A_TWR_README.txt:
Information about processor revision 1
#--------------------------------------------#
To debug a target with this processor revision you must use the CFG file "LS102xA_Rev1_ConfigChain.cfg" that can be found at the location
[CW install path]/ARMv7/ARM_Support/Configuration_Files/jtag_chains/. This file will be imported following the next steps:
1. Open "Debug Configurations..." and select your project;
2. Click on the "Edit..." button which can be found next to the drop list called "Connection" from the "Target Settings" view;
3. Click on the "Edit..." button which can be found next to the drop list called "Target";
4. Click on the "Edit..." button which can be found next to the drop list called "Target type";
5. Click "Import..." and then "File System..." and select the file specified above and then click OK until you return
to "Hardware or Simulator Target" window;
6. Select in the "Hardware or Simulator Target" window the initialization and memory files from the project;
7. Click OK until you return to "Debug Configurations..." window and click "Debug".
Adrian
- 新着としてマーク
- ブックマーク
- 購読
- ミュート
- RSS フィードを購読する
- ハイライト
- 印刷
- 不適切なコンテンツを報告
Ahhh great! That is working too! A big Thank You for your help!
Kind regards
Jan